Clearfog C9130 Pro Dev Kits
Turn your rockchip board into a into a WiFi Router, Secure VPN, or both with SPR. This guide will show you how
Available Now
Order Page
This Pro Kit is designed to provide high performance and flexibility. It features two upgradable mini-PCIe slots and an M.2 slot, allowing for expansion and customization. Additionally, it is equipped with a 10GbE SFP port which can handle high-speed data transfer. The device also supports WiFi 6-e cards, providing the latest wireless technology with extended frequencies.
Software Support
Clearfog images are released under https://github.com/spr-networks/super/releases
Enclosure
- Steel
- Dimensions: 10”x4”x1.25”
- Antennas are a little bit over 6” long when vertical
What's Included
- Power Supply
- Steel Enclosure
- 3 Antennas
- 3x3 MT7916 WiFi Card
- SD Card
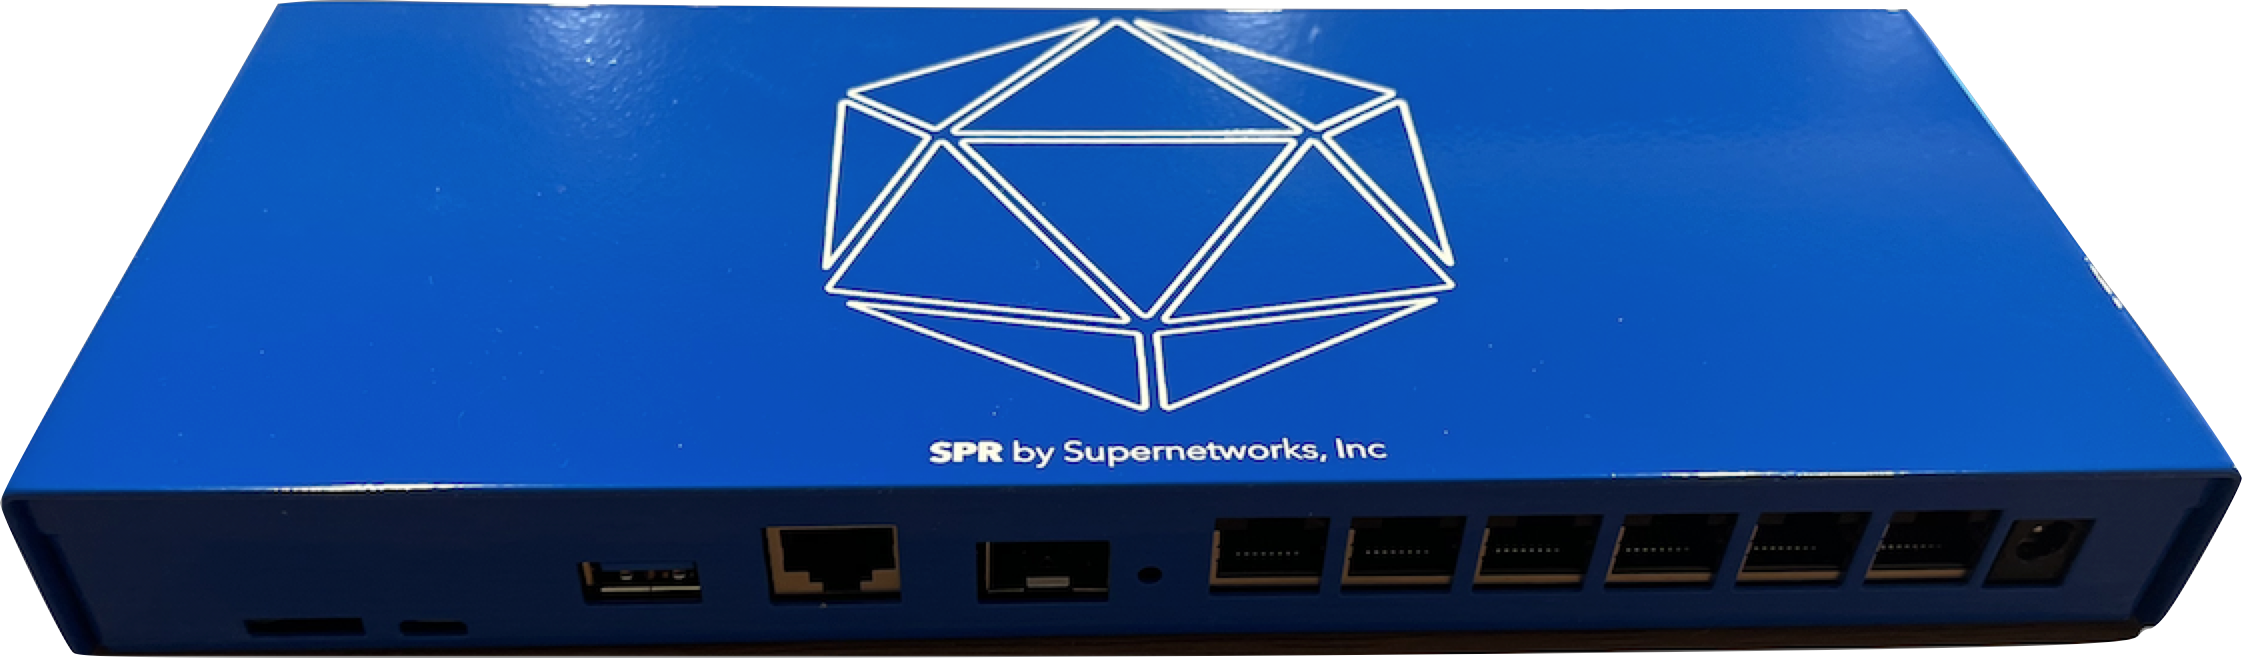
Board Info
- 1 x SFP+ 10 GbE port for high-speed data transfer
- 1 x Port dedicated Ethernet
- 5 x Switched Ethernet RJ45 10/100/1000
- 2 x upgradable MiniPCIe slots for expansion and customization
- 1 x M.2 slot for additional storage
- Marvell OCTEON based CN9130 Quad core Arm Cortex A72 up to 2.2 GHz
- 4GB of RAM
- 8GB eMMC storage
- microSD slot for additional storage
- Micro USB Debugging and Programming
- SIM holder for cellular connectivity
- 1x USB 3.0 for high-speed data transfer
Find out more about the OCTEON boards at SolidRun
Wireless Capabilities
- 2 x 802.11ax 4x4
- 2.4 GHz, 5GHz, 6GHz bands
Limitations
The clearfogs only support a single high-power wifi card in the mPCI slots due to power constraints
Setup Guide
Flash the SPR-Clearfog image from https://github.com/spr-networks/super/releases to the SD Card
- Plug in your clearfog to your local network using a ethernet cable to the
eth2port (upside down from the rest) - Insert the SD Card,
- Connect the Power and twist the connector in to secure it, this will boot the device
- Visit https://spr.local to run through the UI setup. This is a mDNS name, if it does not resolve: Check your router DHCP table to see if you can locate the Clearfog SPR or scan for it with ping/nmap.
- The setup will guide you through configuring your SPR networking and adding your first device, as well as setting a UI password.
Installing to the eMMC
See the Clearfog Manual
Debugging
- Boot the SD card with a micro-usb attached to the clearfog
- The default user/pass will be root:root
See the quick start guide